
Flipping books
An essay…

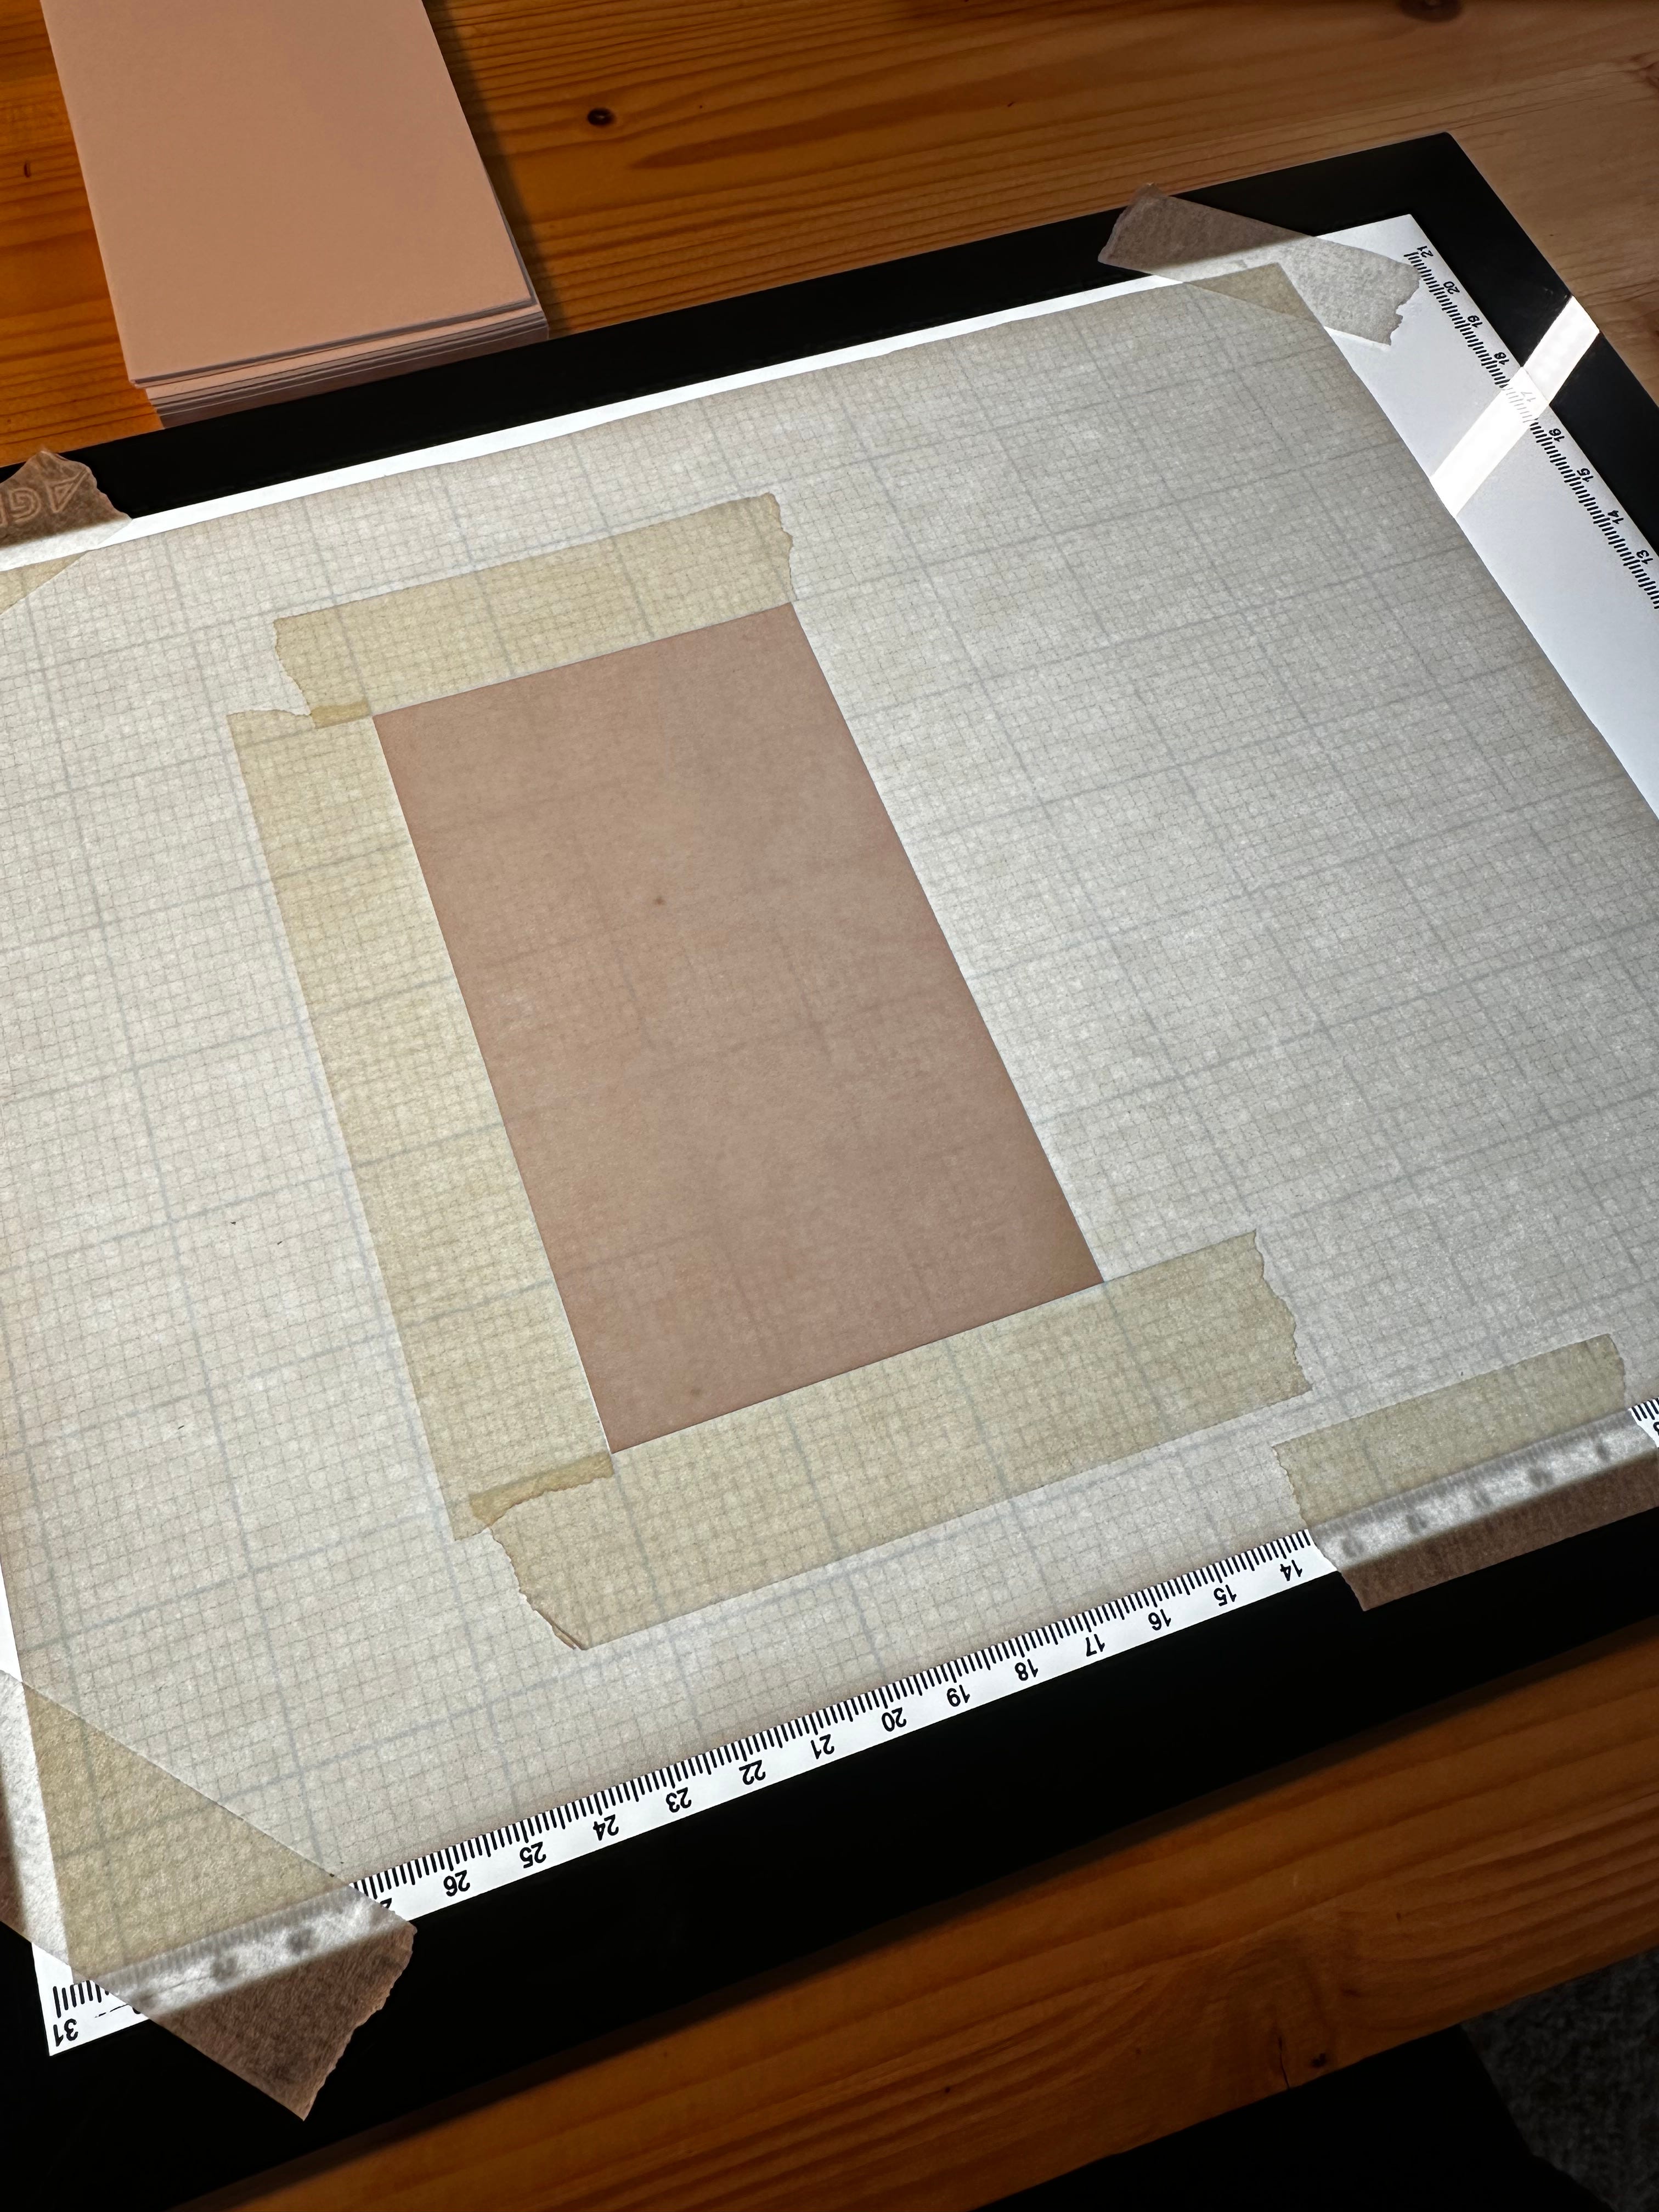
Two page flip book. © Alma Hoffmann, 2025.
Spring break brought a much needed break as well as a much needed time to catch up with several projects and/or explorations. One of which was learning to create flip books—a deceptively easy project. Every video and post I watched or read seemed super easy but once I started to make them, it turned out that there are details that make or break the experience of flipping the book.
Before spring break, I had started a lecture on Movement in Art and Design for the ArtApp class. I could not finish it so I will need to conclude it tomorrow. Right after the lecture, I am assigning the students to make a flip book.
As common as they are, I had never done one, though I find them hilarious and incredibly mesmerizing, even if they are about a ball bouncing. My reading and watching videos on the subject was of course necessary. However, there is nothing like experiential learning to become aware of the often unspoken quirks a project entails. And that I learned. I was really naive in thinking that a bunch of papers held together by a binder clip or rubber band would be enough. I was wrong.
Did you know that there are people whose job is to make customized flip books? I imagine how much fun that would be! As I started studying flip books, I came across a blog post about their history. It turns out that they are one of the predecessors of film. The first flip book was patented in 1868 by British lithographer printmaker John Barnes Linnett though Frenchman Pierre Hubert Desvignes is credited with the invention. Linnett called it a kineograph. Eventually film eclipsed the flip book as the primary medium to portray motion but they remained popular as creative expressions and even as educational tools. Because of their approachable and low cost method to animate, they were used by animators like Walt Disney. Eventually software and digital tools eclipsed them once again but now they have seen a resurgence both because of nostalgic reasons and because they do not require many tools to make them. A simple stack of paper and a marker or pencil are the most basic things you need.
A very popular medium to create a flip book is a stack of sticky notes. One of the reasons and key to successful “flipping” is the binding. I discovered that the part that holds the stack together needs to be tightly held and the pages need to be evenly aligned. Misalignment messes the animation. I was using index cards held by a binder clip. But eventually I realized I had to make sure the side that was bound needed to be even and show no creep of the sheets. Another key aspect is the placement of the object to animate. If the paper is not long, one has to be careful to animate in a corner or if in the center, not too high on the paper.
I also discovered that there are several types of flip books. There are some with pockets on their pages and with more complicated flipping ideas. That was way out of my league. To explore, I stuck with the basic: about 30-40 index cards (several empty at the beginning and at the end as not to end or start abruptly) and a binder clip.
It is easy to think that anything can be sequentially flipped. And yes, it can. But when one is starting to experiment, simple subjects and those that allow for latitude in precision are best. For example, I was so ambitious that I wanted to animate cursive lettering of a letter morphing into others. Oh, well, that did not work… yet.
Then I thought, well a block letter that I draw from tiny to big. I found it still too choppy.
I needed to simplify more. This led me to realize I had to animate something where the changes would not be obvious to the viewer. Forgiving subjects, like leaves falling and covering the page. The leaves did not need to be exact. It was helpful to use a registration to place the “template” index card to copy from. See below.
A light table is helpful but any light source would work such as a window or even a digital tablet. From there, I created a directional curved line (not shown) to help me follow the motion. Then, I would draw leaves. Oh, the number of repetition it takes to make something like that look smooth in movement! I should have picked something even simpler like a bouncing ball… yeah, that is not me. See my leaves below.
This one felt better but I was still curious about what else I could do. That is when I came across the two page flip book. I became super excited with it! Still, there are details to work out such as where it is best to place the drawing, the rolling the paper on the pencil, and I discovered it would work better if I taped the bottom sheet to the table. But I got so excited and giddy about it! See below.
The trick here is momentum and timing. The paper unravels a little after a while but you get the impression of the object moving.
Yes, I know. I may be more, much more excited than the students will be about this exercise, as usual. But what can I say? I always get excited about their projects, readings, and lectures.
Love,
Alma